Free Download Your Desired Softwares and Apps From GetintoPC
How to Fix and Download xinput1_3.dll Missing File?
In this tutorial we will learn how to download xinput1_3.dll and fix missing file issue in windows.
xinput1_3.dll File Overview
xinput1_3.dll file is a significant Dynamic Link Library (DLL) component of the Microsoft DirectX suite of software, linked to the XInput API. The xinput1_3.dll file acts as an intermediary between Windows and Xbox 360-compatible game controllers, allowing software programs (mainly PC games) to identify controller input, map button inputs, and trigger the controller’s force feedback (rumble) feature. When a video game that requires compliance with the XInput API is loaded, it will attempt to load xinput1_3.dll into memory. If successful, the game can interpret complex analogue stick movements and press a button on the gamepad connected to the PC. This allows game developers to write controller support code in a standardized manner, so all controllers that support the XInput standard will work identically, eliminating the need for players to manually map buttons in the game’s configuration file.
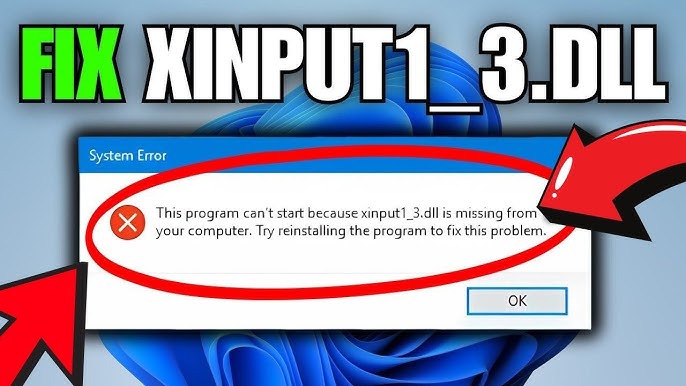
xinput1_3.dll is one of the most common technical problems in video games on PC. It is because it’s not included as part of the Windows 10 and Windows 11 operating systems, when it was last updated in August 2007 as part of DirectX version 9. So if someone tries to play older consoles through PC games or through emulators, they can sometimes receive an error saying that “xinput1_3.dll is missing” or “xinput1_3.dll not found”. xinput1_3.dll is not an executable program on its own; it is a support file that provides legacy support for controllers. If you get a warning about this file, it does not mean you can’t play your game; this issue can be easily resolved by ensuring that your computer has the complete library of older DirectX components.
Fix xinput1_3.dll Missing File Issue in Windows
The xinput1_3.dll missing error is a very common issue on Windows, and it usually happens when you try to open a game or a graphics-heavy software. This specific file is a component of Microsoft DirectX, which handles multimedia tasks in Windows.
Here is a step-by-step tutorial on how to fix this issue safely.
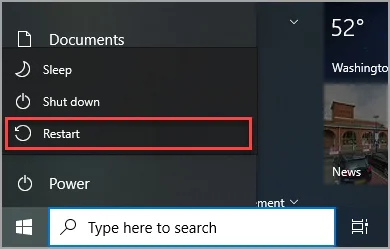
Step 1: Restart Your Computer
Before trying any complex fixes, simply restart your PC. Sometimes the error is temporary,
or the file is locked by another program. A quick reboot can often solve the issue.
Step 2: Install or Update Microsoft DirectX (Recommended Fix)
Since the xinput1_3.dll file is part of DirectX, reinstalling or updating DirectX
usually fixes the problem.
- Go to the official Microsoft page for the DirectX End-User Runtime Web Installer.
- Download the
dxwebsetup.exefile. - Open the downloaded installer.
- Follow the installation steps and uncheck any optional offers if needed.
- The installer will replace missing or corrupted DirectX files, including
xinput1_3.dll. - Restart your computer after installation.
Step 3: Reinstall the Game or Application
If DirectX installation does not help, the game or application itself may be corrupted.
- Press
Windows + Ito open Settings. - Go to Apps > Installed Apps.
- Select the affected game or program and click Uninstall.
- Reinstall the application from its official source.
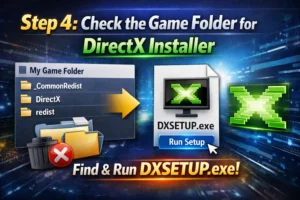
Step 4: Check the Game Folder for DirectX Installer
Some older games include their own DirectX setup files.
- Open the game installation folder.
- Look for folders named
_CommonRedist,DirectX, orredist. - Find and run
DXSETUP.exe. - Complete the installation and restart your computer.
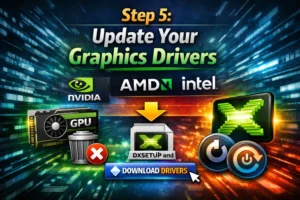
Step 5: Update Your Graphics Drivers
Outdated graphics drivers can also cause DirectX-related errors.
- Identify your graphics card manufacturer (NVIDIA, AMD, or Intel).
- Visit the official website of your graphics card manufacturer.
- Download and install the latest drivers for your GPU.
- Restart your computer after installation.