Free Download Your Desired Softwares and Apps From GetintoPC
How To Right Click On a Chromebook (Without Mouse)
If you’ve recently migrated to a Chromebook, understanding your new device configuration is crucial so that you can use it with ease. You are probably asking yourself, “Where is the right-click button on my Chromebook?” At first glance, it may seem that you cannot right-click because this feature is not available, but do not fear, it is available. You just have to learn a few quick gestures and a couple of shortcuts.
Getintopc helps all of our users feel empowered when navigating on their devices and softwares every day. When it comes to copying text, opening a link in a new tab, or going to your system settings, understanding how to right-click on your Chromebook will help streamline your overall user experience.
What Does Right-Click Do on a Chromebook?
Before we begin “how”, let’s take a moment to explore “why”. Right-clicking on a Chromebook allows users to access context menus, which are typically small pop-up lists or options that change based on the user’s current navigation.
By right-clicking on a Chromebook, one can:
- Copy, delete, or paste text, files, and images.
- Open links in new tabs or windows.
- Rename files or adjust app settings.
- Hidden options and quick tools typically pop up as well, allowing for a quicker navigation experience.
Using the right-click typically allows for a limited second option to control, and while it is somewhat similar to, it is also different from the primary option to use daily.
How to Enable Right Clicks on a Chromebook
For most Chromebooks, the right-click functionality is enabled by default. If it is not for yours, it is likely a simple setting you can toggle.
Follow these steps to make sure you can use right-click:
- Click on the time, located in the bottom-right corner of your Chromebook screen.
- Click on the Settings icon (it looks like a Gear).
- Scroll down to Device, and you can click either Touchpad or Mouse & Touchpad (it does not matter which).
- Once you are in either of those selections, you should see a toggle for Enable tap-to-click, which you will want to have on.
- Once it is on, locate the toggle Enable secondary click and make sure that it is on too.
After you have both of these enabled, you can tap or right-click to access right-click functions with no changes. You can either tap on your touchpad or right-click with a mouse.
3 Methods for Right Click on a Chromebook
One of the best characteristics of Chromebooks is that there are multiple ways to complete a task. You can use whichever right-click method works best for you.
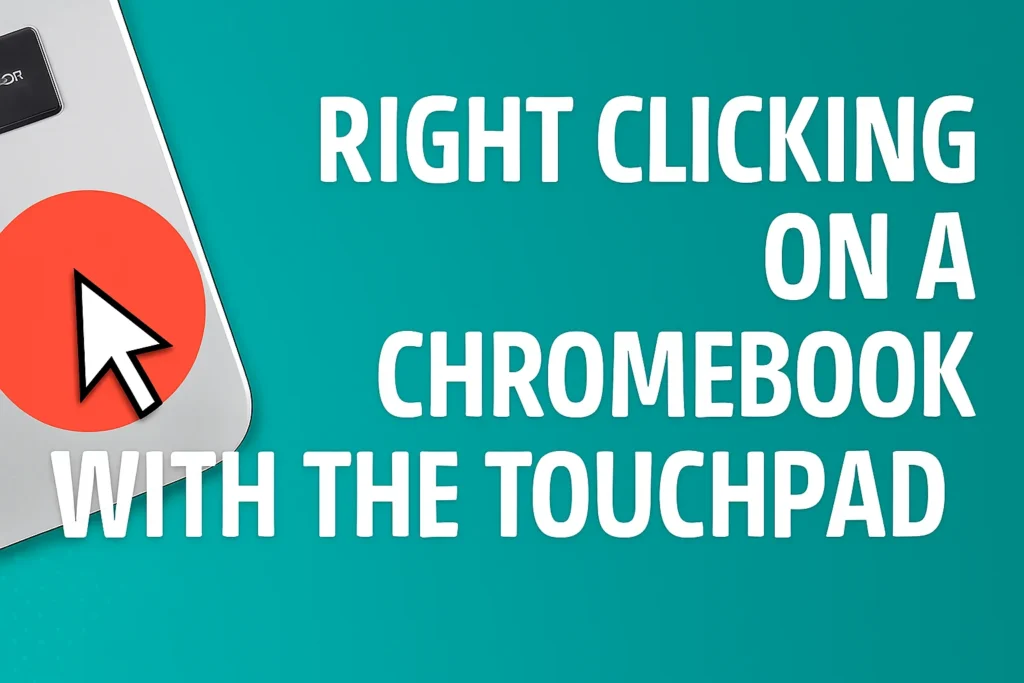
1. Right Click on a Chromebook with the Touchpad
This is the easiest and most frequently used way to right-click on a Chromebook.
Here’s how:
- Position your cursor over the item you would like to right-click.
- Keep two fingers on the touchpad and tap down once with both fingers simultaneously.
- Voila! You should see a menu with options appear on the screen immediately.
Tip: If tapping down with two fingers does not work properly, check your touchpad settings and make sure that “Enable tap-to-click” and “Enable Secondary click” options are checked.
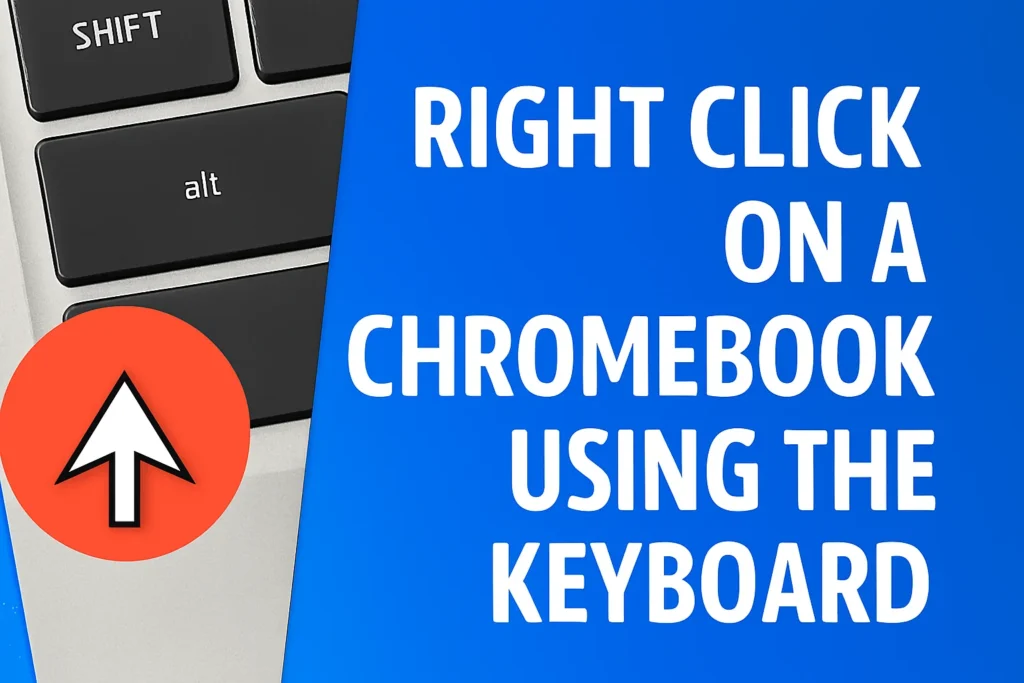
2. Right Click on a Chromebook Using the Keyboard
Do you prefer to do a keyboard shortcut? A Chromebook has those features as well!
Here’s what to do:
- Hold the “Alt” key down and click once on the touchpad.
This is the same action that occurs if you right-click with your finger, and especially helpful if your touchpad gestures are not responding properly.
3. Right Click With an External Mouse
If you’d like to use a traditional mouse when working with a Chromebook, it’s easy to connect one and get started.
To right-click:
- Plug in a USB mouse, or pair a Bluetooth mouse through Settings → Bluetooth → Pair new device.
- Once your external mouse is connected, you can right-click just like you would on any computer by pressing the right mouse button.
Right Click not Working? Try these Quick Fixes
If none of the suggestions above worked, you may be dealing with a temporary glitch or an improperly set option that preventing your Chromebook from recognizing right-click gestures. Here are some common causes and fixes.
1. Touchpad Glitch
Your touchpad may occasionally stop responding due to a temporary glitch in the system.
A good place to start is:
- Try restarting your Chromebook to purge the system of minor glitches.
- Then, go to Settings → Device → Touchpad and try toggling the “Enable secondary click” option on and off.
- If you haven’t yet, go to Settings → About ChromeOS → Check for updates, and make sure your Chrome OS is up-to-date.
If your touchpad still unresponsive, you might want to visit a repair guide or try temporarily connecting a USB mouse.
2. Accessibility or Mouse Keys Settings
Accessibility functions can sometimes override your default touchpad functions.
To check for this scenario, you can:
- Go to your Settings → Advanced → Accessibility.
- Look through the settings in the Mouse and touchpad settings.
- If you do not need features like “Automatically click when the cursor is stopped” or “Mouse keys,” toggle those settings to off.
In most cases, tapping those settings will restore the gesture to its normal click functions.
Conclusion
Once you know the gestures and shortcuts, it is not difficult to know how to right click on a Chromebook. You can either use the two-finger tap or press Alt while clicking (or using a mouse) and quickly access the standard options in operating systems.
And if your Chromebook right-click is still not working, a few simple changes in settings usually get it working again.
Chromebooks are made to be quick, easy, and intuitive to use, and once you start using some of those tricks, you will be navigating like a pro in no time.


")