How To Use Adobe Acrobat Reader 2025
Adobe Acrobat is one of the best software programs to edit any type of document file. In this article, I will guide you on the most important tools that you need to edit your document. We will on how to use How To Use Adobe Acrobat Reader.
Creating a New File
First of all, Open Adobe Acrobat Pro. Now there are a few ways to create a new file. You can come up to the top and click on the create button. Then you can upload a single file if you have one, or you can select multiple files, combine them into one, and then make the changes as you want. You can also create a new file by scanning a new document if you have your scanner attached to it, but what I like to do is simply go to my folder and drag my PDF file directly into Adobe Acrobat, and there it is.
Interface and Tools Overview
You have a left side bar with different tools if you’re using any older verion then you might view toolbar on the right side bar it’s just the change of the interface the tools and features are mostly the same you have some tools on the right side bar now you can simply scroll your mouse wheel and switch to different pages you can click on button and view the quick preview of all the pages and if you want to go to a specific page click on it and it will open that page.
Navigating and Viewing Pages
You can also add the page numbers. You can input your required page number, and it will go to that particular page. Hence, there are just multiple ways to do the same thing. If I scroll my mouse wheel, then it quickly switches to other Pages. You can also view two pages side by side. What I like to do is keep it to a single page view, and after that, select the enable scrolling ” option if I scroll my mouse wheel, now, instead of quickly switching to different pages. You can also choose these other options to change the way the pages appear on the screen. You can zoom in on the page and zoom out from these buttons. Also, you can press and hold the control key and then move your Mouse back and forth to zoom in and out.
Editing Images
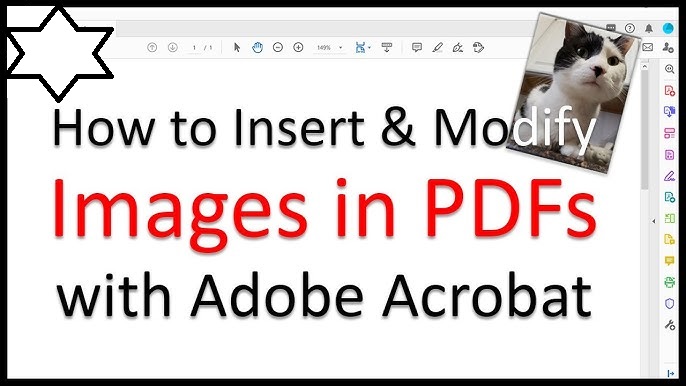
Now, if you want to edit your document, then click on the edit button. It will show some new tools. You can hide the page tab. If you click on it, then it gives some options related to images. You can click on the crop button and crop the image as you want. You can click on the button to rotate the image and click the button to delete the page. Click on the button to export the selected image as a separate file. You can click to replace your selected image with your required image. You can also generate an AI image to use in documents. Also you can add your image; it will open up a small window where you can make your changes. After making your changes, click on Apply. It will update your image. You can also redock the whole image.
Editing Text
Let’s move on to the next page press and hold the control key and then move your mouse wheel to zoom in and an image file appear but when you click then it’s gives options to edit text you can use these settings from the left side bar to change the text as you want double click on it to select the whole text click on field box and then select your required color you can change the phone size we can make it smaller press crl plus Z to undo something now changing the text is very simple just double click on it and change the text.
Formatting Text
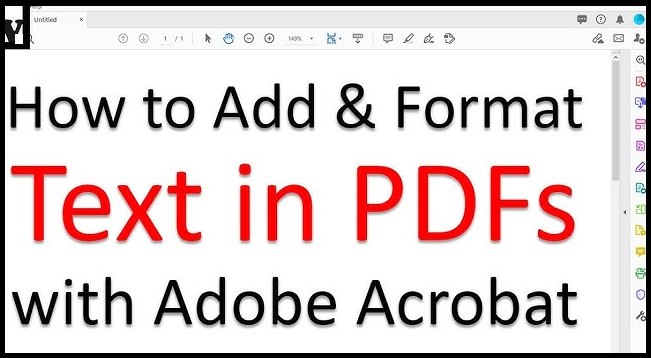
Adobe Acrobat gives you formatting and commenting tools that make it very easy to change the text of documents. It is as simple as selecting a paragraph, then making the text bold, italic, or changing its alignment as it fits your layout. The commenting toolbar allows you to add three different types of comments, which I found especially useful when you might be reviewing a document, collaborating on a document, or providing feedback to a colleague. To add a comment, simply click anywhere on the document and type a note; it will appear in the Comments tab. These tools can help keep track of all the comments in one area. In addition, the commenting and formatting tools can help to streamline your workflow while maintaining a polished document.
Commenting and Highlighting
Let’s add another replace text comment. Just select the text that you want to be placed, add your comment, and your comment will be added to the Tab. You can also view the page number to which that comment belongs. Next, you have the highlight tool; you can simply select the text. It will be highlighted that you can change the colour of the Highlight. Next, you have the underlying tool. Now, keep in mind that the underlying tool is also used to highlight. You can also use the strike-through tool and add a comment to it.
Drawing and Shapes Tools
Next, you have a drawing tool, and you can use it to draw something or write something freely. Next, we have the line tool. You can simply draw a line or press the shift key to draw a straight line. You can also change the colour. Next, you have the arrow tool, and you can draw the arrow very quickly. Next, we have the rectangle tool, and let me make the rectangle. You can also make a circle and use it as you want. Next, we have the text callout, and you can use it to point out something. Next, you have the polygon tool, and you can also create a cloud. Simply click on it, click on any point, and it will start making a cloud. Finally, double-click and it will create it. Next, we have the connected lines. You can simply click on any point, and it will start creating lines. That’s it. And finally, we have the stamps palette, which is very interesting. You have different categories that you can check, and you can also import a custom stamp that you have. Now, you need to select one. You can put your information.
Adding Text and Marks
Next, we have the type text with which you can put your text wherever you want. You can simply put your text with it. I’ll move it to the middle, and if you have any questions so far, you can let me know in the comments below. All right, next we have the cross marks. You can simply click on any way you want to place the cross. We can also place a check mark. You can also place a DOT. Let me change the colour to white. I’ll place it right in the middle of a person’s head. Next, we have the circle around.
Adding Signatures
Next we have this signature tool which is very helpful you have three options you can type your text and use it as your signature you can also draw your signatures and also import your signatures as an image file you can use the type signatures for the demonstration I’ll scroll down and simply click on it to place it you can also customize toolbar but I want to keep it to default.
Organizing Pages
Now, if you want to rearrange your pages or ADD a blank page or add a different document and combine it into one, then click on all tools and select organize pages. You can do a lot of things very easily. If you want to change the sequence of a page, then you can simply move it and change the sequence as you want. If we want page three to be the page six of the document, then we can simply move it, and that’s it.
Inserting Pages and Files
Now, if you want to add a blank page, then click on the insert button and select blank page from the location where you can add it before or after a certain page, and then mention the page number after which you want to add it. You can rotate it next. I want to add another document to the document. So for this, simply go to my folder, drag my document, and drop it where I want it to be. Then it will be added. I can change the sequence of the pages as I want. By the way, you can also add simple image files. We can simply drag and drop it, double-click on it, and there it is.
Redacting Text
All right, we’ve talked about creating a file combining different files and editing a PDF. We’ve talked about the signatures. Next, we have to reduce the PDF. It’s a very helpful tool, let me go to some other page, just to zoom in. I’ll select this tool and then select this first line now. If we click on apply, click continue, then it’s going to redock that line. Now, you can redock the whole page if you want. You can target the specific page numbers. You can also find a particular word throughout the document and read that as well.
Searching and Redacting Words
You can type your required word. You can use the word yo for the demonstration. We can check both these options and then click on search. It will show all the paragraphs that contain the targeted word. Now I can select my required instances that I want to reduce, or I can simply click on the check all and Target all the instances. After that, click on the button and add. Then it reduces all 99 instances. Click on Apply, and click Continue, then a reduction in the quick preview will happen. We can also view the reduced text.
Protecting a PDF with a Password
Now you can also protect your PDF document with a password. Click on this option. You can apply the password for viewing the document or editing the document. You can put my password and click on apply. It will ask you to save the new version with the password. If we open it, it’s asking for the password even to view the document, so it’s a great feature.
Using Bookmarks
All right, next we have the bookmarks. For this, click on the page, then go to my bookmarks, and click on the plus button. Now you can give it a name. You can add as many bookmarks as you want.
Creating Multiple Documents
Now, if you click on the create button, then I can also create another document and work on that as well, or I can simply drag my document to the new Tab and work on that separately.
Recognizing Scanned Text (OCR)
All right, there’s also another great feature that I’d like to cover in this article if we go to page one. As we all know this is an image file but if we go to the edit Tab and click on this gear button then you have option Recognizing text and you enable it and select yes what it’s going to do is all the text that is in the image form that is not editable it’s going to try to convert that into editable text and now you can select as an editable text it looks a bit pixelated because the original quality of the image was not very high. Still, if you have a scanned document which is very high quality or if you have some high-quality image with text on it, then you can use the option to convert that image into editable text, and that can save you a lot of time and effort.
Adding Headers and Footers
Moving on, we have the header and footer. You have six Fields where you can add your text. We can fill it out quickly. You can type whatever you want. You can visit the preview at the bottom of the window. Now, you need to fill it out according to you. Then you can choose your font and do the styling as you want. You can also change the position of the head and AA by changing these margins according to you. After that, click on okay, and it will be applied to all the pages.
Saving, Reducing File Size, and Exporting
Now, once you are done editing your document, you can click on the menu, click on Save As, and then select your location where you want to save it. You can also apply your password. Another great feature of Adobe Acrobat Reader which is reduced file size you can enable it if you want your document to have less file size. You can also share it with other people, only input the email address of the person you want to share the document. After that, click on invite, and it will be shared. In this way we can use adobe acrobat reader.


